LXC Linux container host server
LXC Linux containers is kind of a weird thing to say because LXC means Linux Container, so I’m saying Linux container Linux container… but I digress.
LXC has been my goto container solution for the past couple of years. I used OpenVZ containers for a while, but after having several major OS crashes that required a full rebuild of my CentOS server , I decided to explore LXC a bit more and never looked back. The primary aim of this article is to get your feet wet with LXC containers in a local Virtualbox VM environment.
The major difference between LXC and OpenVZ is that OpenVZ requires you to install their version of the Linux kernel which includes patches to make OpenVZ containers more secure and feature complete. LXC on the other hand does not require a separate linux kernel, all it’s features are built into the Linux kernel. LXC (before version 1.0)) was considered to be less secure than OpenVZ because it allowed privileged root access to the underlying host machine which as you can imagine is a security risk… that’s been fixed.
Overview

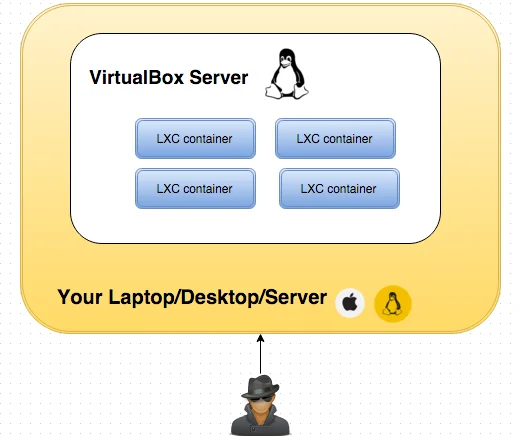
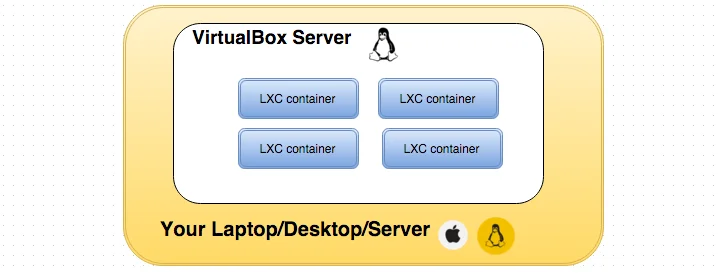
The single task we want to accomplish here is to create a virtual machine ready to run LXC containers. The following steps will go through the automated build of the LXC container environment. This getting started guide is brought to you by the amazing work in the following projects:
- VirtualBox - Free Hypervisor based Virtualized servers
- Vagrant - Hypervisor configuration manager for Virtualbox, Vmware, AWS e.t.c.
- Fabric - Configuration management framework for managing server configuration and application deployment
- LXC - is an operating-system-level virtualization environment for running multiple isolated Linux systems (containers) on a single Linux control host
- LXC Web Panel - A simple to use web interface for managing LXC containers
Pre-requisites
- Install Vagrant
- Install vagrant-fabric plugin (see below)
- Install git
- Mac OS (should also work well on any Linux distro)
Build it!
Install vagrant-fabric
vagrant plugin install vagrant-fabric
Run the following:
git clone https://github.com/H2so4/LXC-on-VboxVM-using-Vagrant.git
cd LXC-on-VboxVM-using-Vagrant/
vagrant up lxc
Go to http://192.168.33.10:5000
Login using: username: admin, password: admin
So what just happened?
The vagrantfile in the repo contains all the specifications for our LXC host virtual machine like memory, cpu - e.t.c. We also have a fabfile.py file that contains instructions on how to install LXC and LXC web panel. The vagrant-fabric plugin makes it possible to use our fabric tasks to provision our LXC host. Other options for provisioners include bash script, chef cookbook and a host of other configuration management tools.
How do I access the containers?
Working with the containers in the current state must be from the console of the virtualbox server. You can connect to the server after you run vagrant up lxc by running vagrant ssh lxc.
Connect to a container
Initially, the containers won’t have openssh-server running, you can install openssh-server and setup a password for the ubuntu user using the following:
SSH into the virtualbox vm using vagrant ssh lxc
I will use the ubuntu container in this example:
lxc-attach -n ubuntu
On the console within the container run the following - at the end, enter a password for the ubuntu user:
apt-get update;apt-get install -y openssh-server;passwd ubuntu
Exit the container by entering the exit command.
Now you can run ssh ubuntu@[CONTAINER_IP] then enter the password you set up. This step is especially useful when containers are bridged to your local network, or when you set up a VPN server in your virtualbox host server.
For my setup I usually configure an OpenVPN server. If I get requests for that I can write that process up too.
Another approach is to set up the networking such that the containers are first-class citizens on the same network as the host - more advanced but more elegant.
Things to Note:
- Creating a new server for a distro for the first time SUCKS in the web UI because it locks up the UI until it finishes downloading the image. As part of this installation process I pre-built an ubuntu server which makes the process of creating subsequent servers much quicker.
- Setting memory and swap limits doesn’t work because the underlying mechanism for making this change in the linux kernel has changed. There may be work done to change this but right now, all containers have unlimited memory, cpu and swap bounds. I haven’t had too many issues with this but your mileage may vary.
This article is to get your feet wet - there are may ways to skin this. Happy hacking.

